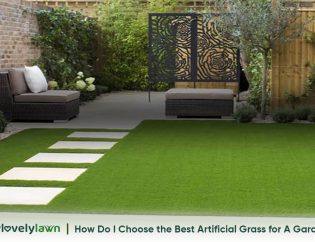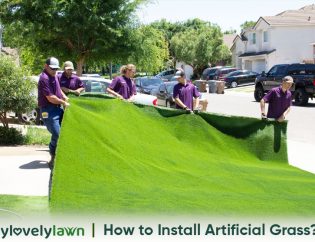
Technological advancements and strict manufacturing regulations in Europe have significantly improved the quality and longevity of artificial grass. Subsequently, we are seeing a growing demand for artificial grass installations for both homes and commercial properties.
An artificial turf installation not only gives people and pets a safe space to play in, but they also look as good as natural grass but without the hassle of having to mow the lawn or spend a small fortune on fertiliser.
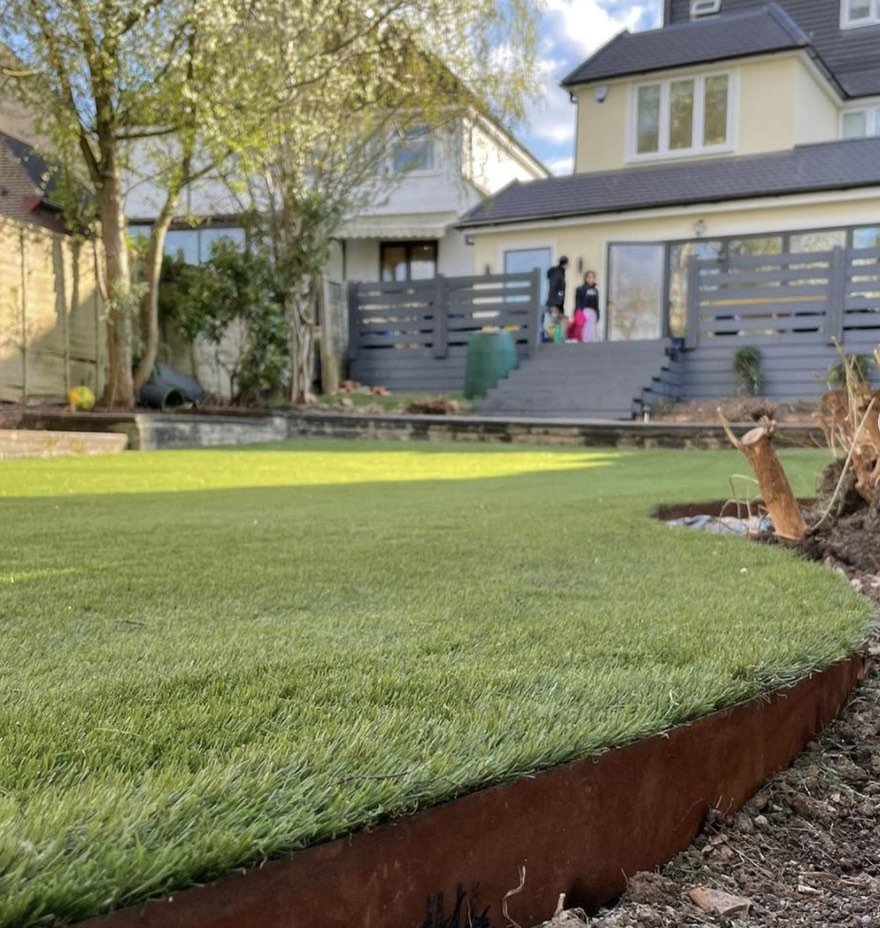
Installing edges to your astroturf is optional, albeit well-worth the effort. Edging systems improve the overall aesthetic of the lawn and act as an anchor to help contain the sub-base. Without edging you risk compromising the integrity of the base materials.
Adding edges to your artificial turf installation is particularly useful if your fake lawn borders flower beds because they create a tidy separation and prevent the sub-base material from leaking into the flower bed.
They also prevent loose seeds from getting underneath the astroturf and sprouting flowers or weeds which can cause nightly ridges in your fake lawn.
If you do choose to install artificial grass edging - and we strongly advise that you do - it’s important that the job is carried out correctly. If you get it wrong, the edging will not only look a mess, but the edges will sink into the base materials and soil which is expensive to repair.
There are several types of artificial grass edging to choose from. The option you choose largely depends on your personal preferences, budget, amount of traffic you expect, the size of the installation and the environment.
In this article, we discuss the pros and cons of each type of edging and explain how to secure artificial grass edging.
What tools do you need to secure the edges of artificial grass?
- Retractable knife (and spare blades just in case)
- Tape measure
- Spirit level
- Galvanised nails or U-pins
- Rubber hammer
- Joint adhesive and tape
- Carpet kicker
- Skip (for the waste)
How to fit artificial grass edging
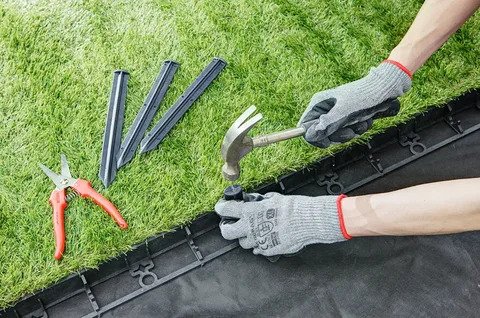
Artificial grass edging should be laid once you have secured the astroturf and jointed the seams. Ensure the edging is not higher than the grass line otherwise it will restrict water from running off and create puddles.
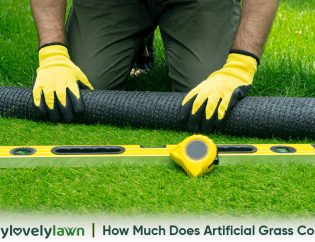
The first thing to do is to iron out the creases in your astroturf installation using a carpet kicker. Don’t worry too much if you can’t get all the creases out immediately. This is quite normal. Ridges will naturally settle down in two or three days.
Once you feel satisfied you have flattened the lawn as much as possible at this stage, trim the edges and corner with a sharp, retractable knife. Start with corners.
Next, fasten the edges around the perimeter using rust-resistant nails or U-pins. This prevents the edges from lifting so space them closely - about 75cm apart is sufficient. We recommend using about 100 nails for every 10 sq.m of grass.
If you’re laying an artificial turf installation on a solid surface, use a strong adhesive rather than nails. The most important thing here is to make sure you create a tight, flat seal, and where possible try to avoid covering drainage holes.
Which types of artificial turf edging is best?
There is no definitive answer to which type of artificial turf is best because there are certain variants that need to be considered. To help you decide which artificial grass edging is best for you, we’ve listed the options below.
1. Pressure-treated timber

Timber is the most commonly used edging because it is the most cost-effective. It’s also easy to cut down to size during the installation process. However, wood is not a flexible material so is not user-friendly for astroturf installation with curved edges.
The downside to using timber is the lifespan. Timber will only last around 10 years - so providing you take good care of your lawn, you should expect your astroturf installation to outlast a timber edging. On the plus side, timber edging is not difficult to replace once the wood starts to rot.
To secure timber edging we recommend driving stakes in the earth with a rubber hammer. Measure the distance between the stakes and cut your edging to size. Fasten the edging with a decking screw.
Before you lay the edging decide whether you want the artificial grass to fit plush to the edges of the decking or whether you want to pin the artificial grass down with the timber.
2. Composite Plastic-Lumber Edging

Composite plastic-lumbar edging is an upgrade on timber if you have the budget for it. This option is three to four times more expensive than timber.
Having said that, its key advantage is a 25-year lifespan so it will maintain its integrity through the lifespan of your fake grass. So overall, the cost works out about the same to cheaper.
Composite plastic-lumbar edging is installed in the same way as timber detailed above but also has the same limitations in that it’s difficult to fit in garden designs that are not squares and rectangles.
3. Aluminium or Steel Edging

Aluminium and steel give you the same long-term benefits as composite plastic-lumbar edging - it will last at least 25-years and up to 50 years. For some people, metal edging is more aesthetically pleasing than wood.
The other advantage of metal is that it can be bent which makes it ideal for any environment. It’s also easy to install. The only downside is the expense.
4. Railroad Sleepers

Railway sleepers offer the same pros and cons as timber. The only difference you would choose railroad sleepers over timber is if you want a raised edge around the perimeter of your lawn. Timber is best used if you want to edge that sits level with the grass.
An interesting benefit that railroad sleepers can offer is they can be stacked on top of one another. This gives you more potential with the design of your gardens such as raised flowerbeds or steps.
If you choose to install railroad sleepers, fix them into place by embedding them in concrete or fixing them to stakes. You can secure the edges of your astroturf with either decking screws or galvanised nails inserted at a 45-degree angle.
5. Paving

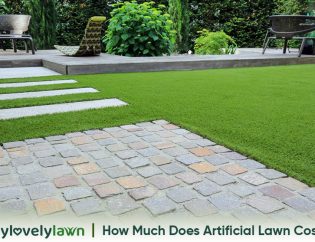
If you’ve already had patio paving, concrete blocks or a stone pathway in your garden, it makes sense to use it as edging from a practical and a financial point of view.
The only criteria when using paving as an artificial grass edging is to make sure it has an elevated position above the top level of the grass.
Bear this in mind when digging the foundations. You need to make sure you leave plenty of space for your sub-base but don’t dig too deep so that you have an unsightly amount of paving showing - it will probably be discoloured from the soil of your natural lawn. This will mean buying more sub-base to bring your lawn up to the right level which adds unnecessary costs to your aster installation.
If you want to add paving to your garden once you’ve laid your artificial grass installation, the premise measurements are not such a crucial factor.
With some paving, it’s possible to create a lip around the edges and fasten the edge of your synthetic grass using a strong adhesive. Whilst this is a good option, it can be tricky to avoid folds and creases.
Professional artificial grass installers prefer to use 6-inch steel pins driven into the ground around the perimeter. This is a cost-effective solution and is less labour-intensive. Steel pins also make it easier to remove the grass when the time comes to release it.
6. Concrete Gravel Boards

Concrete gravel boards are an ideal edging solution for homeowners with a wooden fence. They enable you to run the artificial grass installation right up to the edge of your garden in the same way timber. The different is gravel boards looks more sophisticated. Concrete gravel boards are also useful for containing your sub-base.
Can you screw down artificial grass edging yourself?
Sure, there’s no harm in fitting artificial grass edging and screwing it in yourself. As a matter of fact, screws are arguably a better option than galvanised nails or U-pins because they are easier to remove if you need to make corrections or repairs.
If you do intend to screw down artificial grass by yourself, follow the recommendations mentioned above you’ll have no problem. To recap:
- Iron out the creases
- Cut the corners and edges with a sharp knife
- Insert 25mm screws 15-20cm apart
Artificial Grass Installation Experts
Whilst it’s possible to install astroturf by yourself, there are specific rules you need to be aware of - and if you get the foundations wrong, you will not get the best out of your fake lawn.
To make sure your artificial grass installation is done properly, contact a member of our friendly team to discuss your situation and to arrange an installation date.
