Before you can even think about the delicate process of laying artificial grass, you need to prepare the surface you going to lay your lawn on.
The longevity of an artificial grass installation relies heavily on the preparation - you, therefore, need to nail this stage of the process. If the preparation is not performed correctly you increase the risk of poor drainage and limp fibres.
When an artificial grass installation goes wrong, it’s not a pretty sight. Rain puddles gather on your lawn and make it unusable. A build-up of water may also create unwanted odours.
Preparing your garden for an artificial grass installation is a four-stage process - which you can read all about below.
Bear in mind that fake lawn installations are a long process but taking your time to do a good job will pay dividends in the long run - your artificial lawn will certainly look better for it.
1. Remove existing grass
It’s not possible to simply lay artificial grass on top of the organic grass. If you do, it will cause all kinds of problems. Weeds notwithstanding, the artificial grass surface would be lumpy, uneven and struggle to drain properly.
Before you even think about laying astroturf, it’s vitally important to remove all of the pre-existing grass and smooth over the soil underneath. This will give you the smooth professional-quality surface you need.
Skimming off the top layer of grass is not sufficient either. You need to dig a base to give yourself enough space for a drainage layer and to level the surface with sand.
It’s generally recommended that you dig a base about three inches deep. If your garden struggles with drainage issues, make the base at least 4-inches deep.
Excavating to this depth and making sure it’s consistent throughout your garden can be a painstaking process. It will be particularly difficult if you use only manual tools such as a shovel and a fork.
We recommend hiring a turf cutter. This will make the job far easier and much faster. This fantastic piece of machinery is available for hire and pretty easy to find. They also enable you to adjust the cutting depth meaning your preparation stage will be perfect.
2. Clean Up the Field
Having excavated down to three or four inches the area where you want to lay your artificial grass will be a mess. You won’t have to worry about any more organic matter, but the rocks and flints that make up your soil will be scattered across the new surface.
You might also find that you have weed roots that run deeper than the depth you have excavated. You will need to deal with both of these problems first.
Leaving the rocks and flints will make levelling the land much more difficult at a later stage. Big rocks will create bumps in your artificial grass which not only looks unsightly but can cause an injury.
Making sure weed roots have been fully removed is even more important. It may take a lot of time to do if you’ve got a lot of weeds, but if you don’t remove the roots, you will find weeds growing up through your artificial grass.
You may also want to consider installing a quality weed membrane. Weeds tend to grow back at some point despite going to great lengths in removing the weeds.
Seeds from plants can blow onto your soil from miles around so it’s practically impossible to eliminate the risk of weeds during the preparation process. A weed membrane keeps the pesky critters at bay.
Clearing the existing land may also involve removing other garden debris that could create potential problems further down the line. Removing tree stumps, and even trees with potentially disruptive roots may need addressing.
If you’re unsure whether a tree may need removing, we recommend consulting a professional artificial grass installer - or hiring the experts to prepare the ground for you.
Overgrown hedges also make it difficult to lay artificial grass properly around the perimeter of your garden. Nobody wants to be wrestling with a bush while trying to secure the edges.
You can make your life a lot easier by simply trimming back your hedges before you go any further. Make sure that you clean up properly afterwards!
3. Levelling Out the Field
You have conducted some pretty difficult and painstaking work so far, but all that will be wasted if you rush during the next stage. Even if you spend hours removing debris, the surface will be uneven.
Before you can add a base layer, the soil needs to be flattened and raked so all bumps are eliminated. Bumps on the base layer make it harder to hide the seams when jointing artificial grass. The drainage system may also suffer.
Identify visible dips, grooves and rises in the soil. Having spotted them, get your spade or shovel out and try to cut the bump down run level with the rest of the ground.
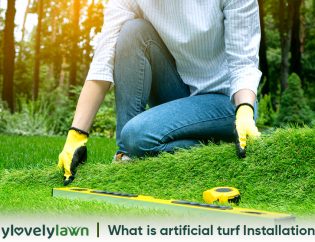
Once you’ve removed visible bumps, it’s a good idea to run a rake across the soil. Not only will this flatten the ground but will also identify bumps you may have missed the first time around. It may even be worth using a spirit level to make sure the base layer is as flat and even as possible.
4. How to add Base Layer and Lay Sand?
You’ll be pleased to know that you’re moving onto the final stages of preparing the garden for an artificial grass installation. This stage of the process is the first stage where you start adding new materials rather than removing old ones.
Adding new materials to fill in the excavation helps the garden to drain and ensures it remains as level as possible for many years to come.
We cannot stress enough how important it is to get this part right. If you don’t use the right materials you will need to remove the artificial grass and do it again - otherwise, your lovely lawn won’t be usable.
On the bottom of the excavation, you need a base layer. The sub-base layer should be firm, stable and made up of a material that fosters drainage and water storage. The main purpose of a sub-layer is to prevent flooding even in the worst weather conditions. It will also prevent your artificial grass from sinking.
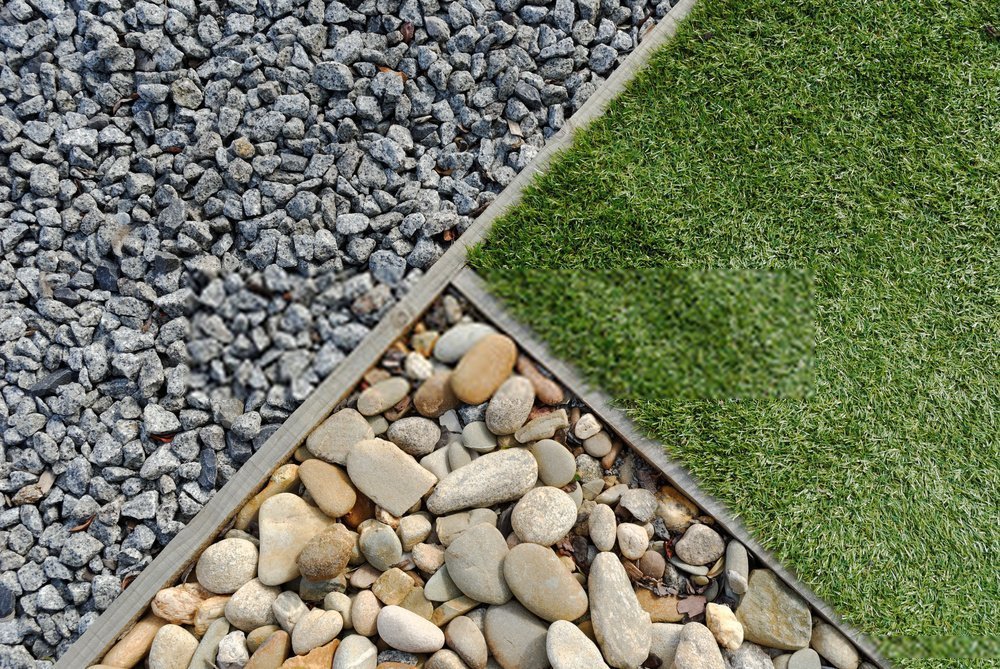
Base layers generally consist of stone, crushed into very small pieces. The two most common forms of base layers are granite and limestone. Some professional installers also use sand but, in most UK gardens, sand is not the best option.
To determine which material will be the best option for your sub-base refer to this article. The process of laying the base layer is fairly simple.
Shovel out the material you use for your sub-base evenly across your garden. Make sure you compact it thoroughly to prevent any sinking later on.
Make sure to lay the base layer about two inches deep and use a spirit level to ensure it is flat and even. Using the right depth will make sure that your base layer does its job while leaving enough space for the levelling layer of sand.
As we mentioned earlier, it’s a good idea to lay a protective membrane underneath your artificial grass installation to prevent weeds from appearing through the base layer.
Some people may not feel a weed barrier is necessary given that astroturf is manufactured with latex backing. However, you would be surprised by how many weeds find their way through the holes.
In addition, weeds create lumps and bumps in your lawn which you will feel if you’re barefoot. The grooves may also be noticeable in fake grass with a short pile height.
If you do decide to invest in a weed barrier, then install it after laying the base layer.
The final process of the preparation is to lay the sand that sits between the base layer and the ground level of your artificial grass. Ideally, you should use ‘sharp sand’ that is substantially rougher than standard sand.
Sharp sand is a fantastic building material as it is easy to compact and level. It’s easy to work with when preparing the garden for artificial grass. Use a spade to bat the sand into position so it’s properly compacted and levelled.
Professional Artificial Grass Installers
Now you’re ready for the most exciting part: installing your artificial grass. If you’ve followed the preparation processes above, you will find the process of installing the artificial lawn relatively easy.
The preparation of your garden is a critical part of the process so if you don’t want to run the risk of getting it wrong, don’t hesitate to get in touch with My Lovely Lawn.
With years of experience of installing artificial grass in home installations and commercial properties, you can rely on our professional installers to prepare the garden for your artificial grass properly.

